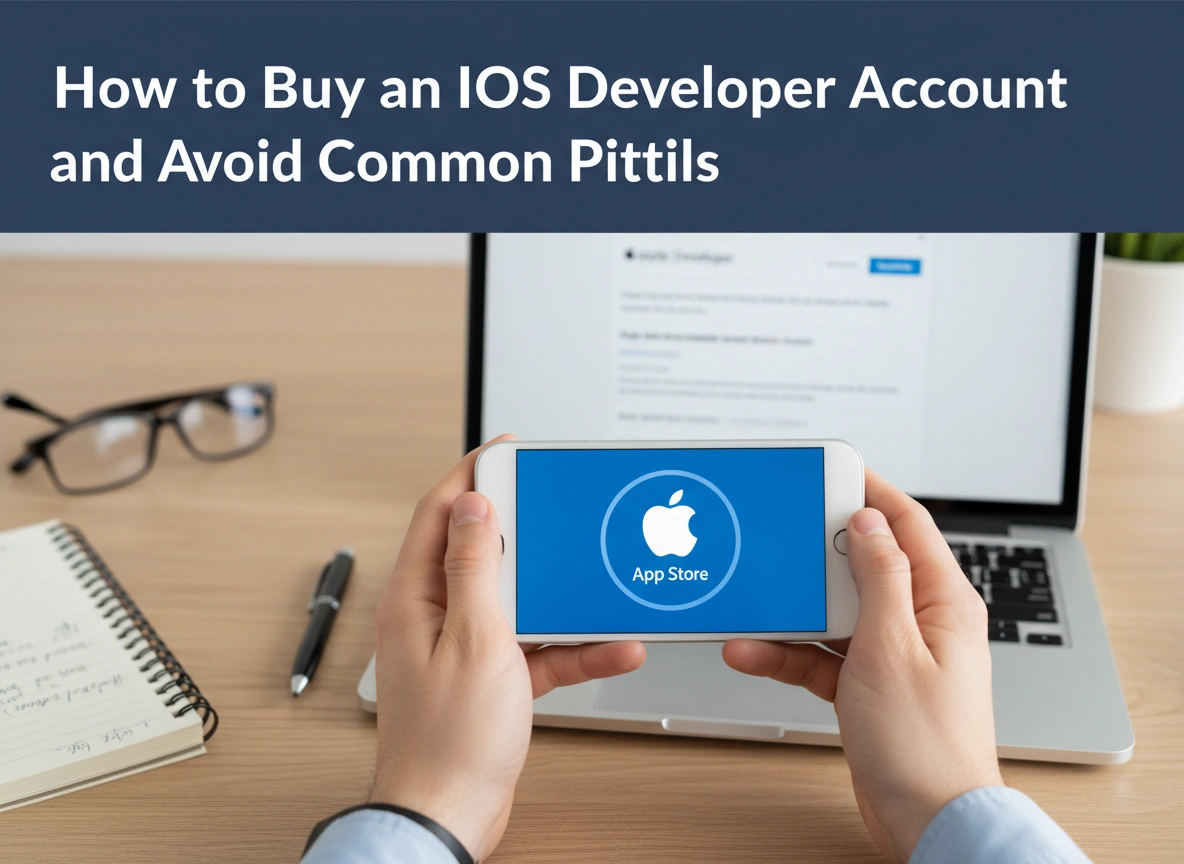
Developing a great iPhone app is a significant achievement, but building the code is only half the battle. To get your creation into the hands of users, you need access to the Apple App Store. This requires one crucial asset: an Apple Developer Program membership.
For many new developers, the process of “buying” this account—or more accurately, enrolling and paying the membership fee—seems straightforward. However, the path is often littered with bureaucratic hurdles, verification delays, and potential missteps that can stall your launch for weeks.
This guide will walk you through the official process of purchasing an iOS Developer Account. We will cover the essential prerequisites, a detailed step-by-step enrollment guide, and most importantly, the common pitfalls that trip up beginners. Whether you are an individual coder or representing a company, this information will ensure your journey to the App Store remains smooth and compliant.
Why the Apple Developer Program is Essential
Before we dive into the purchase process, it is vital to understand what you are actually paying for. The $99 annual fee (pricing may vary by region) is not just a toll booth; it unlocks the tools necessary for professional distribution.
Without this account, your app lives only on your local machine or personal device. Enrollment provides:
- App Store Distribution: The ability to publish apps to millions of users worldwide.
- TestFlight: Apple’s powerful beta testing platform, allowing you to invite external users to test your app before launch.
- App Analytics: Detailed data on user engagement, crashes, and sales performance.
- Advanced Capabilities: Access to specific entitlements like iCloud, Apple Pay, and Game Center integration.
- Support: Access to code-level technical support incidents from Apple engineers.
Securing this account is the bridge between a hobby project and a professional product.
Prerequisites: What You Need Before You Start
Many developers rush to the payment screen only to get rejected or stuck in verification limbo. You can avoid this by preparing your documentation beforehand.
1. A Valid Apple ID with Two-Factor Authentication
You cannot use a generic email address to sign up. You need a fully functional Apple ID. Ideally, you should create a separate Apple ID specifically for your development work to keep it distinct from your personal music and photos.
Crucially, Two-Factor Authentication (2FA) must be turned on. Apple requires this extra layer of security for all developer accounts to prevent unauthorized access.
2. Legal Identity Information
Apple takes identity verification seriously.
- Individuals: You will need a government-issued photo ID (driver’s license or passport).
- Organizations: You will need legal documentation that proves you have the authority to bind your organization to legal agreements.
3. A D-U-N-S Number (For Organizations Only)
If you are enrolling as a company, LLC, or government entity, you cannot just use your tax ID. Apple requires a D-U-N-S Number issued by Dun & Bradstreet. This is a unique nine-digit identifier for businesses. It is free to acquire, but it can take a few weeks to process, so request this well before you plan to buy your developer account.
4. A Valid Credit Card
Prepaid cards are often rejected. You need a valid credit card issued in the same country as your enrollment address. The billing information must match your personal or organizational details exactly.
Step-by-Step Guide to Purchasing Your Account
Once your prerequisites are in order, you can proceed with the purchase. Apple has modernized this process significantly, allowing enrollment via the web or the Apple Developer app.
Step 1: Choose Your Enrollment Method
You can enroll via the Apple Developer website or the Apple Developer app on iPhone or iPad. The app is often faster for identity verification because it can scan your ID directly.
Step 2: Select Your Entity Type
This is the most critical choice you will make.
- Individual/Sole Proprietor: Your personal name will appear as the “Seller” on the App Store. This is the fastest route but offers less privacy.
- Organization: Your company name appears as the “Seller.” This requires the D-U-N-S number and verification of your legal entity status.
Step 3: Enter Your Information
Fill in your personal and contact details. Accuracy is non-negotiable here. Ensure your name matches your ID exactly. If your legal name is “Robert,” do not write “Bob.” These small discrepancies trigger manual reviews that can take weeks to resolve.
Step 4: Identity Verification
If you are using the app, you will be prompted to take a photo of your government ID and a selfie to confirm you are a real person. If doing this via the web, you may need to upload scans.
Step 5: Payment
Complete the purchase using your credit card. The standard fee is roughly $99 USD per year. If you are a non-profit or educational institution, you might be eligible for a fee waiver, but you must apply for this before paying.
Step 6: The Waiting Game
Activation is rarely instant. It can take anywhere from 24 to 48 hours for Apple to process your payment and activate the account. During this time, you will see a “Processing” status.
Common Pitfalls and Mistakes to Avoid
The process seems simple on paper, but thousands of developers face rejections or bans every year due to avoidable errors. Here are the most dangerous pitfalls.
1. The “Black Market” Account Trap
This is the single biggest risk. You might see third-party websites offering “Pre-verified iOS Developer Accounts” or “Aged Accounts” for sale at a premium.
Never buy an account from a third party.
It is a violation of Apple’s Terms and Conditions. These accounts are often created using stolen identities or farmed by bot networks. Apple’s fraud detection is sophisticated; once they link the account to suspicious activity, they will terminate it. If you are linked to a terminated account, your legitimate future accounts may also be banned permanently.
2. Mismatched Information
Consistency is key. A common error occurs when the name on the credit card does not match the name on the developer account application. For example, if the developer account is for “Acme Corp,” but you pay with the CEO’s personal credit card that lacks a clear link to the company, Apple may flag the transaction. Always use a corporate card for corporate accounts.
3. Ignoring the D-U-N-S Database Delay
Getting your D-U-N-S number from Dun & Bradstreet is only step one. It can take up to 14 days for Apple’s database to sync with Dun & Bradstreet’s records. If you try to enroll immediately after receiving your number, Apple will say it is invalid. Wait a few days after receiving your number before starting your Apple enrollment.
4. Wrong Entity Selection
Do not enroll as an Individual if you plan to convert to an Organization later unless you are prepared for a headache. Migrating an account from Individual to Organization is possible, but it involves contacting support, freezing app transfers, and potential downtime. Decide your business structure before you pay.
5. Incomplete Website Presence (For Orgs)
If you enroll as an organization, Apple reviews your website. If your website is “Under Construction” or looks fake, they will pause your enrollment. Ensure you have a professional-looking landing page that clearly references your business name and includes contact information.
Maintaining Your Account and Compliance
Securing the account is just the start. Keeping it requires ongoing diligence.
Keep Agreements Updated
Apple frequently updates its Program License Agreement (PLA). When a new agreement is released—often around the time of their annual WWDC event—you cannot submit new apps or updates until the Account Holder signs the new terms. Check your email and the Buy IOS Developer Account portal regularly.
Manage Access Rights
If you are an organization, use the “App Store Connect” users and access feature. Never share the main Account Holder credentials. Instead, invite team members with specific roles (e.g., Developer, Marketer, Finance). This maintains security and prevents a disgruntled employee from deleting your entire account.
Watch Your Renewal Date
Enable auto-renew on your membership. If your membership expires, your apps are removed from the App Store within 24 hours. While they aren’t deleted permanently, they vanish from search results and cannot be downloaded until you pay. This downtime can kill your app’s momentum and search ranking.
Conclusion
Buying an iOS Developer Account is the gateway to the Apple ecosystem. While the process involves strict verification and a fee, these barriers exist to maintain the quality and security of the App Store.
By preparing your documents in advance, ensuring consistent information, and strictly avoiding third-party account sellers, you can navigate this process quickly. Remember that this account is a professional asset. Treat the enrollment process with the same care you would apply to incorporating a business or signing a lease.
Take your time, verify your details, and soon enough, you will be ready to push “Submit” on your first build.